Edit a Network: Upload Definition File
Whilst editing users may have a set of new locations to upload onto a Network. To avoid having to do this manually users can upload ALL new locations in one file with the required details.
Before doing this users should check if they have:
Name of the location
Where the location is (Coordinates or Addresses)
Metadata that can be useful for filtering or analysing the network with
Editing Notes - Upload Definition File
Besides checking the name and whereabouts for each of the new locations there are additional factors to keep in mind:
Double ups - Ensure new locations are unique and not a copy of an already active location.
Location Tags - If the new set of locations need to be grouped with the current set of locations it is important to ensure the location Tags are spelt identically.
Location Attributes - Another factor that must be kept consistent is the location attributes. If the new locations have the same attributes as the current locations these must be spelt and defined the same. Location attributes are case sensitive.
Upload Multiple Locations - Step by Step
Step 1: Download the Definition File Template
Download below the definition template, this will provide an excel where users can edit and fill in the required columns. Select between the below if either Coordinates or Addresses are available for all locations.
Step 2: Edit the Definition File


Load the definition file. In this file each row represents one location. For each location the below must be filled in, any Optional steps are based on user preference and aren’t a requirement to upload the network.
Enter the ISO code (Country) - If locations are in Australia set code as “AUS”, if New Zealand “N18”, United States “USA”, United Kingdom “GBR”, Canada “CAN”
Enter a unique name for each Location, if location names are not unique explorer will add a sequential number at the end of the location name to make it so.
Provide the location for the site. Under X and Y for the Co-ordinates file, or under full Address if using the Address file. If using Co-ordinates validate the X and Y are the correct way round, if locations are in the Southern Hemisphere the Y should be negative and between 0 and -60.
Define the size of the Trade Areas. If the Trade Area is not relevant for analysis then put 1 under the Primary Trade Area and leave the Secondary and Tertiary Blank.
Optional - Fill in the LocationTags. If there are multiple locations that have similar traits, assign them a Tag (i.e. Open Store), separate each of the tags with a “,”.
Optional - Add on Location Attributes. Numerical attributes can be used within the explorer whilst character attributes can be used in creating future tags. Both types can be checked on to appear when a location is clicked.
Step 3: Saving as a Text File (.txt)
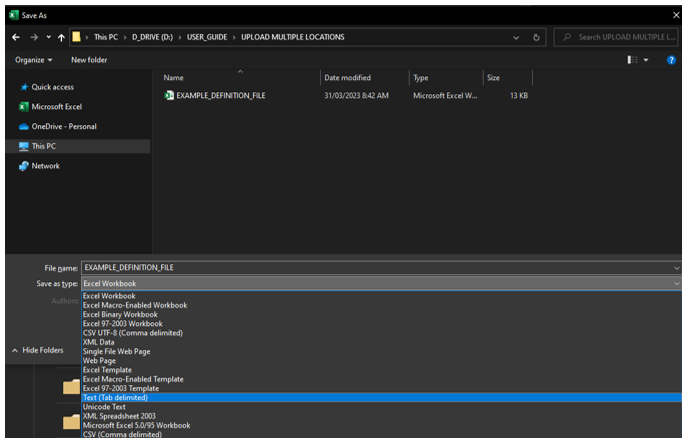
The Excel spreadsheet must be saved as a tab delimited text file before it can be imported into the system. To do this, when saving the definition file, under “Save as Type” select “Text (Tab Delimited)”.
Step 4: Upload Definition File into the Explorer


Select the Network being edited.
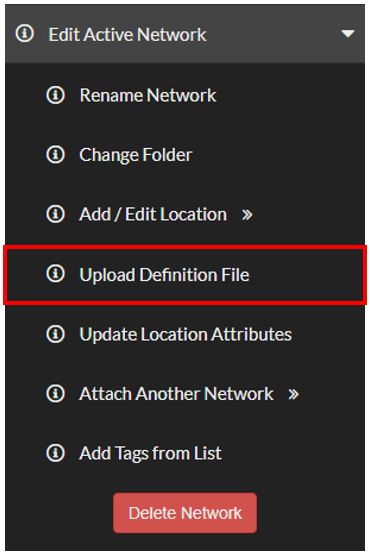
Click “Edit Active Network” then “Upload Definition File”
Select “Upload a Definition File”, this will provide a pop up that will re-affirm the layout of the definition file. Click Choose File to Upload and select the text file.
Select Upload, this will load the added locations in the background
Optional - Ensuring Accuracy
Optionally, users can also select one of the tutorials below for an explanation on how to ensure location geocoding and Trade Area drive time accuracy. This involves making adjustments to the Network Definition File before uploading it into the Explorer.


